You can organize the options trees for your Referrals, Casenotes and Assessments to help you find things more easily. You can organize them any way you want and you can change your settings when you need to.
The More Actions button at the top of the Options Tree gives you a menu of options to help you manage your options tree.
1. Click on the More Actions button.
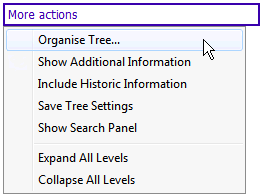
2. Click Organise Tree...
- The left side of the “Tree Organizer” (Tree contents) lists your current display
- The Right side (Additional Items) has items you can put into your display
- The Data Level Information section allows you to manage how you want your tree ordered.
- Additional Information: Displays in purple text after you tick Show Additional Information (above)
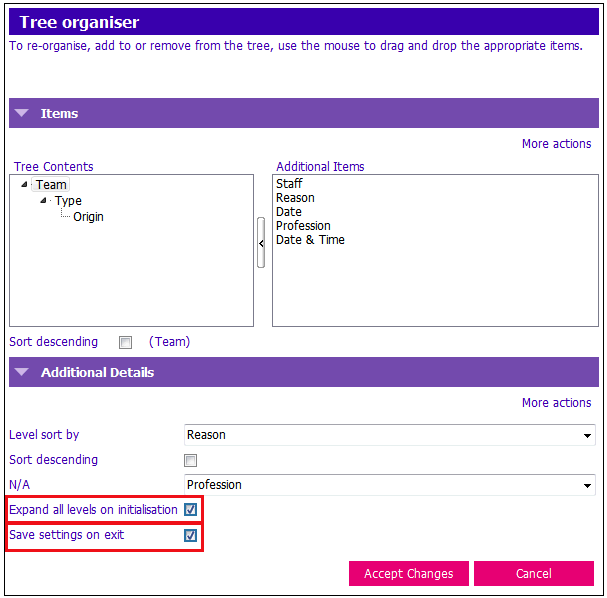
3. Click and drag the items you want from Additional Items to the Tree Contents column, or drag things you don’t want from Tree Contents to Additional Items.
4. Click on the down arrow and select Additional Information from the fixed list.
5. Tick Expand all levels on initialisation to default to the expanded view.
6. Tick Save Settings on Exit
If you forget this step, all your changes are lost!
7. Press Enter or click Accept Changes.
8. Click More Actions and Show Additional Information – if you haven’t already selected this option.
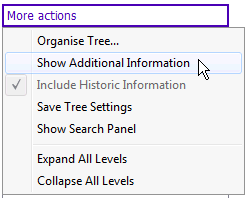
9. Click More Actions and Expand all Levels – your tree should display your changes.

NOTE: You can organize your trees any way you want.