Step 1: Navigate to the ‘Appointment Booking’ home tile and click on the Appointment Booking Application
Step 2: If you do not have a schedule loaded or have never opened a schedule, you must conduct a search first. (If you have your schedule open already Continue to Step 3)
Step 3: Select the appropriate time slot you wish to book a client in
Step 4: Select the appropriate Referral
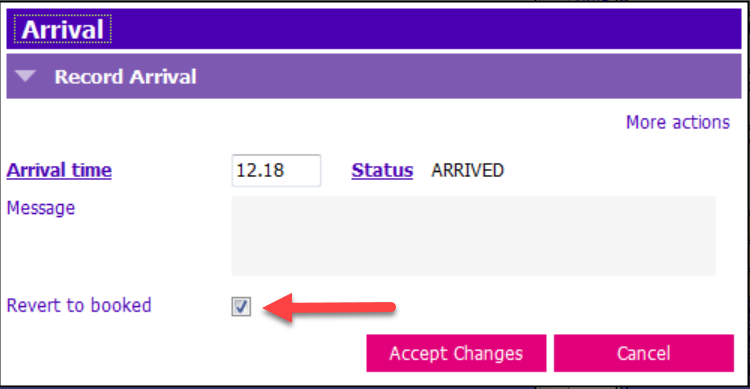
**To revert an appointment
NOTE: Before a client can make an appointment, the client must have an open/active referral.
Step 1: Navigate to the ‘Appointment Booking’ home tile and click on the Appointment Booking Application
Step 2: If you do not have a schedule loaded or have never opened a schedule, you must conduct a search first. (If you have your schedule open already Continue to Step 3)
1. Click Search for sessions - found under the purple Appointments banner to bring up the session search window:
2. Enter the following fields in the Session Search window:
- Team: Verify the field for Public Health or Home Health
- Date from: Enter the earliest date of the range that you wish to view.
- Date to: Enter the last date of the date range you wish to view
3. Click ‘Accept Changes’ to search.
Step 3: Select the appropriate time slot you wish to book a client in
1. You must have an open client record to book an appointment. Left click to select the appropriate time slot.
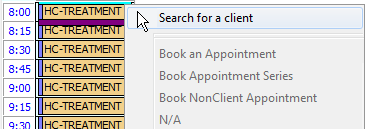
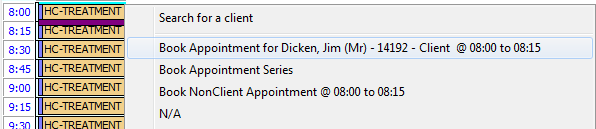
2. Right click in the time slot and select Search for a Client (Fig. 1.1) at the top of the list. (If you have an active client record open already the 'Book an Appointment' option will no longer be read only and will display the client's name, PARIS ID and the time-slot (see Fig. 1.2).
Fig. 1.1
1. Enter the Client’s Paris ID and Search (Ctrl+S).
2. Double click the Client’s name in the Search Results.
3. Right click in the time slot and select ‘ Book Appointment for (Client Name) at (time selected)’.
Fig. 1.2
Step 4: Select the appropriate Referral
1. The Referral lookup window will appear. Double click appropriate referral.
2. The Book Appointment window will appear:
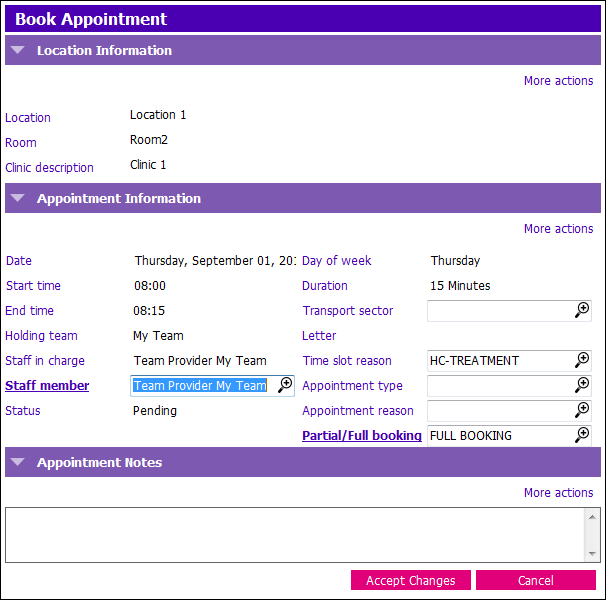
3. Verify Client information and add appointment notes which include:
- Reason for visit, first Visit notation, details for any other apt notes, e.g. reminder call etc.
- Sign with your initials (Ctrl + T)
4. Click Accept Changes.
5. Client appointment will now display:
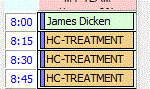
6. Double click on the client's appointment to view any appointment notes, or view them in the Appointment Notes Window in the Calendar pane.
**To revert an appointment
that was marked as “Arrived” (orange) back to “Booked” (green) follow the same steps as though you are marking an arrival; i.e. re-record the arrival to reach the “revert to booked” tickbox.
This is the window for recording an arrival. To revert you use the tickbox as noted below.