Diagnosis Information – Batch Entry
Diagnosis Information Grid
Enter a new Diagnosis
Modify a Diagnosis
Diagnosis Information
Clinicians have the ability to enter multiple diagnoses at a time using Batch Entry or they can add and modify a diagnosis using the Diagnosis Information grid.
Diagnosis Information – Batch Entry
The Batch Entry section defaults to close. Expand the section for the ability to enter up to four diagnoses at once.
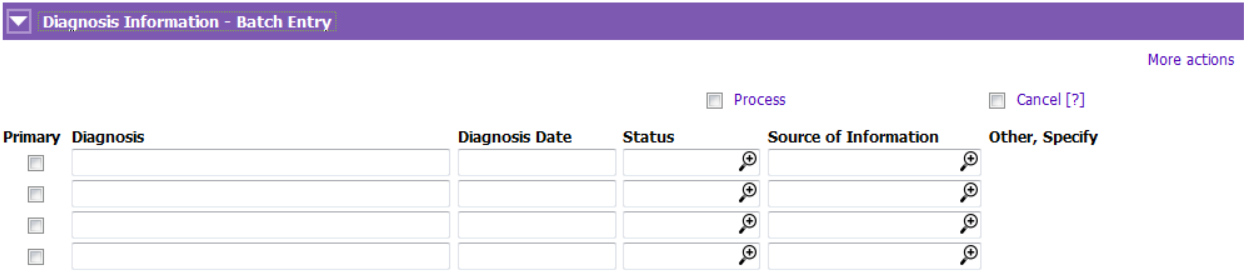
1. Enter the following fields:
 Primary: Tick if this is the client’s primary diagnosis
Diagnosis: Enter (free text)
Diagnosis Date: Enter the actual date if known or free text (e.g. SEP 2018)
Status: Select the appropriate status
Source of Information: Select the appropriate Source of Information
Cancel: Tick to cancel entries that have not been processed
2. Tick the Process checkbox once you have entered all of the diagnoses. The diagnoses will move from the Batch Entry section into the Diagnosis Information grid.
3. Save
Diagnosis Information Grid
All of the diagnoses entered for the client using Batch Entry or the Diagnosis Information grid (where these sections display in PARIS) will display within the Diagnosis Information grid. The default view displays the client’s current diagnoses. Tip: Click Include historic button to view diagnoses with a Status = Resolved or No Longer Valid.
Click More actions button and select Show errors to view diagnoses entered in error.

Enter a new Diagnosis
1. Click Insert a row
2. Enter all of the fields if known.Tip:
Team: Populates the team selected when creating the assessment
Primary Diagnosis: Tick if this is the client’s primary diagnosis
Diagnosis Date: Enter the actual date if known or free text (e.g. SEP 2018)

Modify a Diagnosis

1. Highlight the diagnosis to modify
2. Click Modify row
3. Edit the fields as requiredTip: If the diagnosis is no longer valid or it has been resolved, change the Status.
If the diagnosis was entered in error, tick Entered in Error.
4. Accept Changes. Save.